Good morning all!
How are you all? have you been doing much crafting recently, and have you been using the Jar of Love bundle? If so, then I would love to see some lovely piccies of them!

So here are the cards that I have been making with my Jar of Love bundle. I originally was not going to buy this set as was not that keen on them but after seeing some lovely makes with them from other SU demostrators I just had to get them!

I have only made three cards so far with this set but it does take time stamping and then die cutting the flowers, but it is totally worth it once you finish the card!
For
the first I stamped onto a window sheet with black StazOn ink and
cut it out with the jar die. I then used blue vellum behind the window
sheet to look like water.
 I
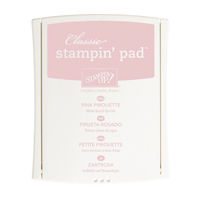
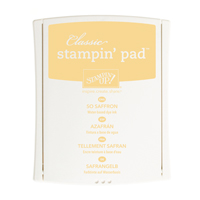
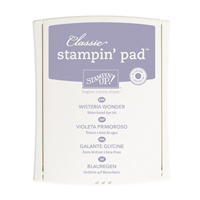
stamped the flowers with Wisteria Wonder, So Saffron, Pink Pirouette,
and Calypso Coral. I stamped the large part of the flower by stamping
off, so its a paler colour and the second colour I stamped straight onto
the flower, so it is a darker look and looks like two different inks
were used for one flower but it is only one.
I
stamped the flowers with Wisteria Wonder, So Saffron, Pink Pirouette,
and Calypso Coral. I stamped the large part of the flower by stamping
off, so its a paler colour and the second colour I stamped straight onto
the flower, so it is a darker look and looks like two different inks
were used for one flower but it is only one. The branches in the background were done with white craft ink before sticking the flowers on and then the jar over top.
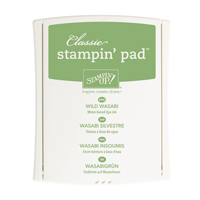
The stalks were stamped with Wild Wasabi ink.

This card was made similar to the above but the jar was just done on white card and some stalks stamped onto it.
The floating flowers around the jar was done using the white craft ink and some rhinestones.
The sentiment was used from the Vertical Greetings stamp set.
This card and the above card base were made with the Crumb Cake card, cut in half longways at 10.5cm and then folded in half to make two card bases.

This final card was done in the same as the above cards but the background of the card was put through the 'Petal Burst' embossing folder to give it that nice textured backing and a bit of lace was wrapped around the edge of the card which I think gives it a vintage feel!
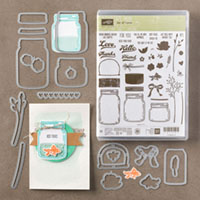
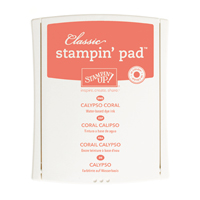
Below are the items you can purchase to make the above cards, just click on the image and it will take you to the place to buy it and all you have to click is add! To use the embossing folder and thinlit dies you will also need a big shot machine, which is a very handy machine and is worthwhile purchasing if you have not got it already!
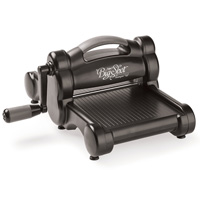
Table built using Product Table Builder by The Crafty Owl
 |  |  |  |
 |  |  |  |
 |  | 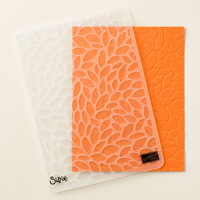 | 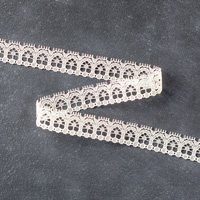 |
Table built using Product Table Builder by The Crafty Owl
Thank you for taking the time to read my post and will hopefully catch up with you next Saturday.
If you have any questions then please do not hesitate to ask, no question is silly! And please leave comments, as I love reading them.
Bye for now
Sarah x
Thank you for taking the time to read my post and will hopefully catch up with you next Saturday.
If you have any questions then please do not hesitate to ask, no question is silly! And please leave comments, as I love reading them.
Bye for now
Sarah x
No comments:
Post a Comment