
Hello everyone!!
SO today this post will be about Shaker Cards!!!

So for these I used the Confetti Celebration Clear-Mount Stamp Set.

- So you get a piece of card that is the same size as the front of your card base, you cut a square/circle/whatever shape hole using dies or scissors into that piece of card.
- Decorate your piece of card with the stamps. I used the hanging lanterns or the stars on my cards.
- Then cut a piece of window sheet into the same size or a tad bit smaller than your piece of card. Stick this onto the underside of your card piece, I use double sided tape as it seems to stick well with this and there is no glue seeping out of the edges that could stick to your embellishments that would go inside your card.
- Put some foam tape on the underside of your card piece. Place it just around the outside of the hole and make sure there are no gaps otherwise your embelishments will escape out of the card.
- Decorate the front of your card base as this will be seen through the window sheet. I used the balloons for two of the cards and the small happy birthday for the other cards.
- Make some confetti to go in your card, by using the confetti/sprinkles punch or stars/heart punch or you could use embellishments like sequins. Or if you have a hole punch then the waste from this and put it in.
- Place the confetti/embellishments on your card base in the middle of roughly where the window of your card front would be (as you do not want it sticking to the foam pads)
- Then peel off the paper covering the foam strips and stick your piece of card (with the window in) onto your card base front.
- This is your shaker card hard bit done, all you need to do now is decorate it with some sentiments and of course, rhinestones!


So there are my shaker cards, I hope my instructions were clear, otherwise like I say just let send me an email or comment and I can try and help further if you have questions.

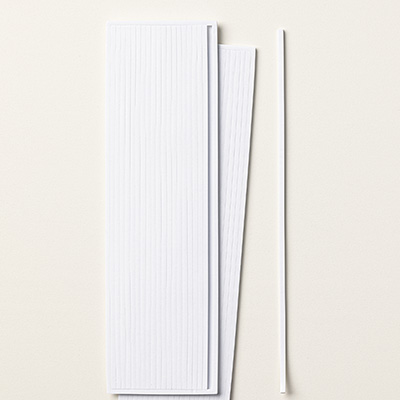
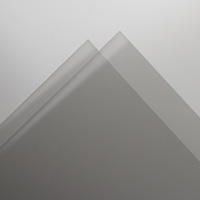
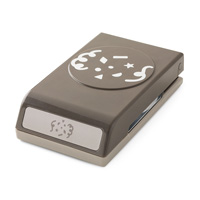
Table built using Product Table Builder by The Crafty Owl
Thank you for reading
Sarah x
No comments:
Post a Comment